
The IKEA DUKTIG kitchen is super cute as is without any updating. Very simple and realistic. After accumulating many pink and purple toys in the first two years, we've started to realize maybe we should shoot for gender-neutral just in case we have a future son. I wanted to spice up her kitchen, but not make it too super girly. Here's the "before":

And here's the after, with details on our additions:

Pardon the terrible lighting in the photos below. We stored the kitchen in the garage while it was a work-in-progress and set it all up the night before her birthday after she went to bed. The kitchen has never (and will never) looked this tidy again, so I wanted to snap the photos before Chef Maddie came through the next morning.
1) Microwave turn table: made from 3" wooden disc from craft store and screw/washer/locking nut to make it spin. It was pretty plain looking so I traced a silver circle on the top to give it some fake dimension.

2) LED track lighting in microwave, above counter, and in oven. We used an IKEA DIODER 4 piece strip set. My favorite part about it is the little light switch. Maddie loves to turn the lights on and off!
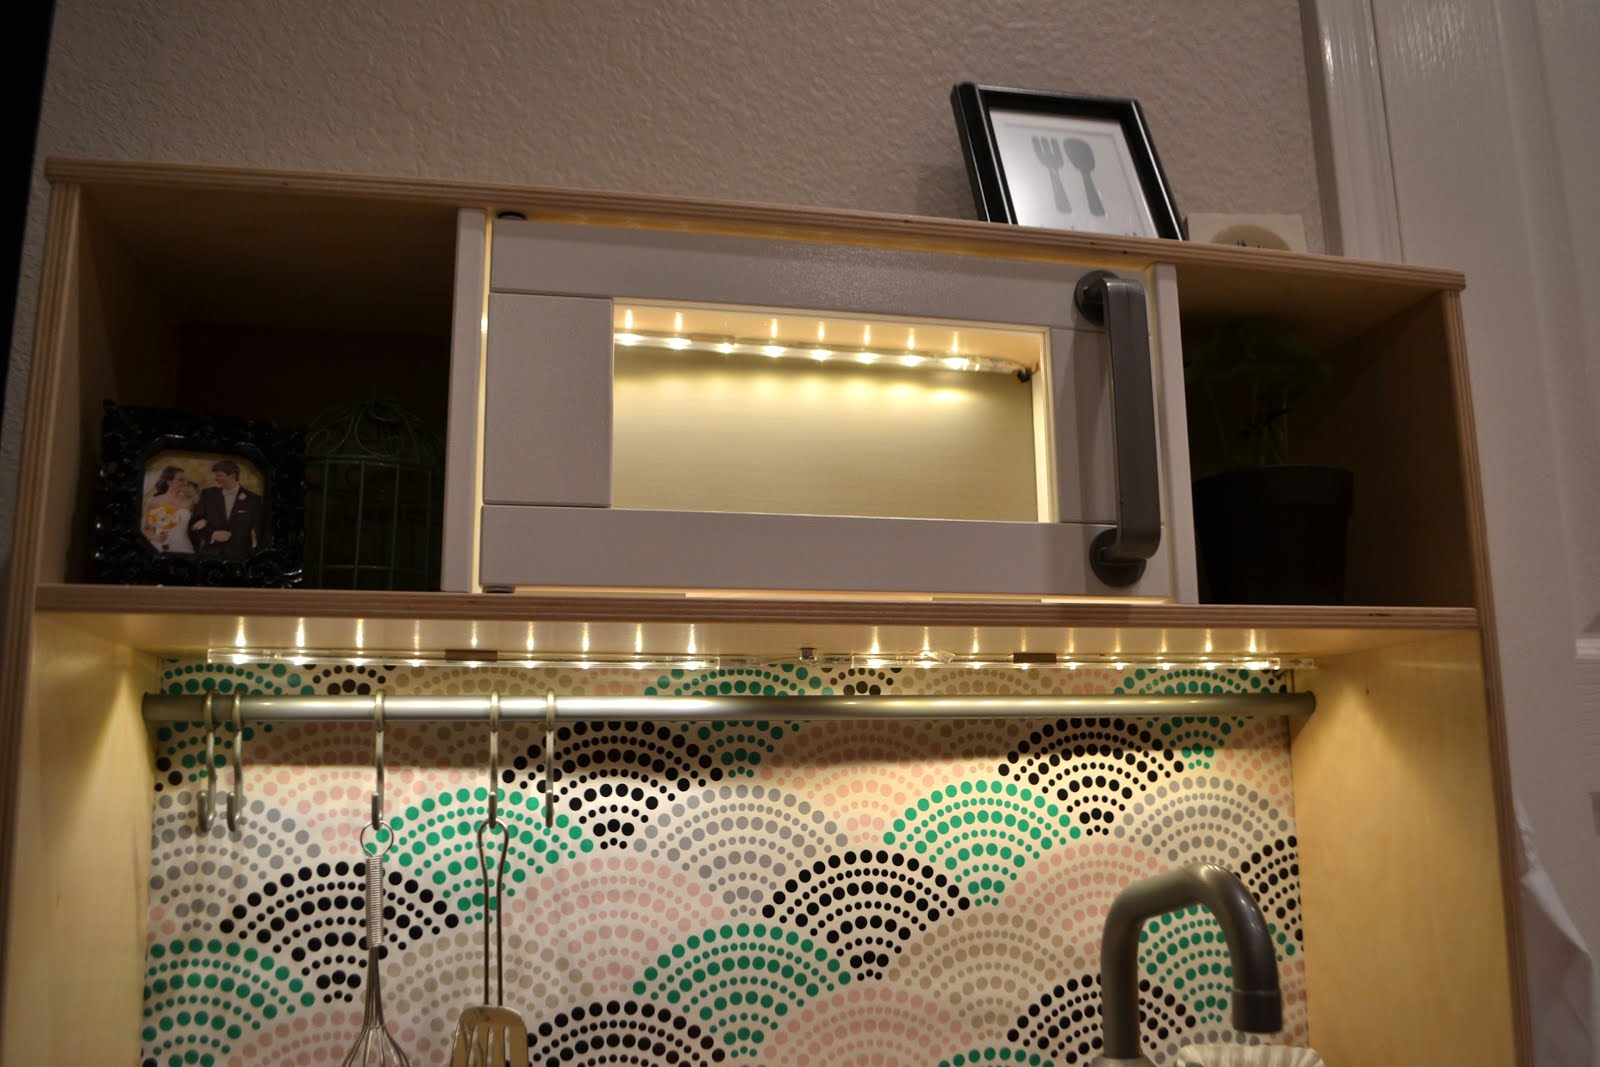

3) Backsplash: we used a piece of MDF wood trimmed to size and covered it in wrapping paper from IKEA.
4) Drawer pulls: I love love love the style of these IKEA HISHULT drawer pulls. They came in a set of two, so I used them on the "oven" and "cabinet" doors of the play kitchen.

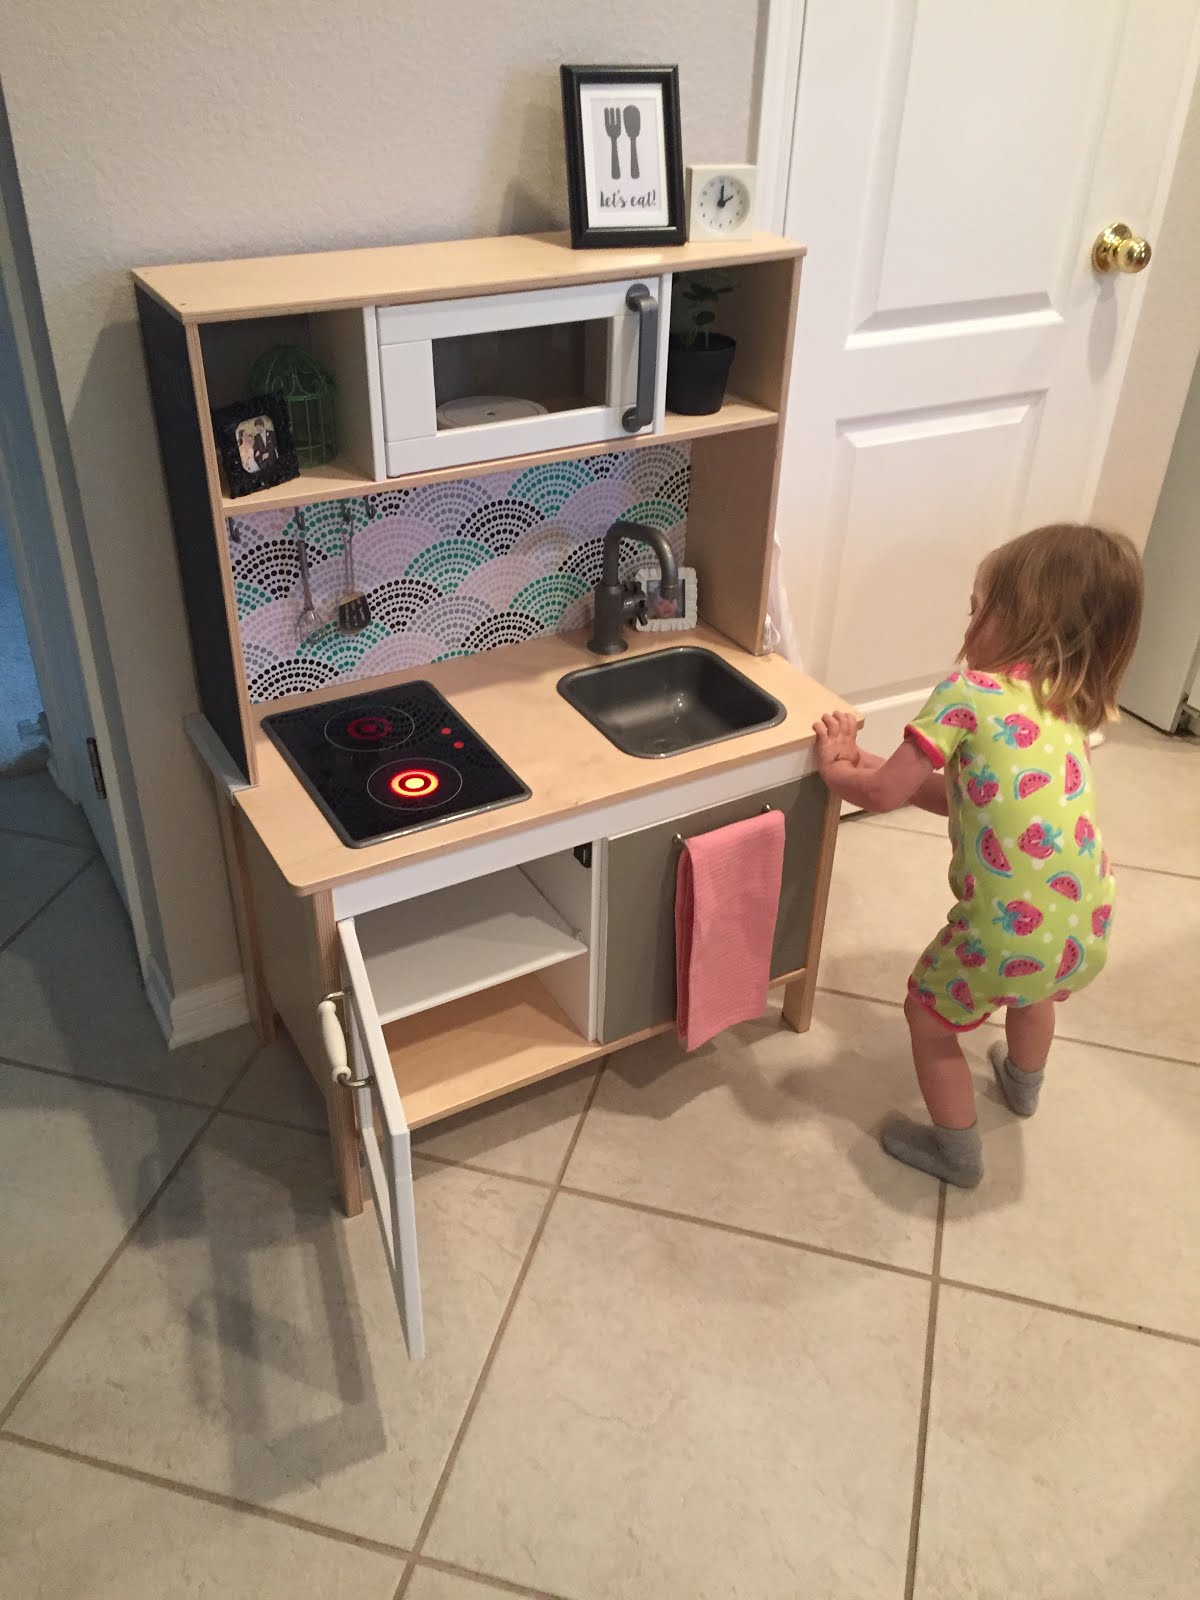
5) Painted cabinet door and shelf backing in top section. Pretty self explanatory :)
6) Added a hook to hang aprons.

7) Painted side panel with chalkboard paint.

I really love the way it turned out. It was the cutest thing when
she came downstairs on her birthday, unwrapped it, and proceeded to check out
every little detail. It's such a joy to see her pretending in her kitchen,
making "eggs" for her baby dolls, and pretend washing her dishes. The
kitchen comes with attachments to put on the legs to make it taller, so I know
this is a toy that will grow with her through the years.


No comments:
Post a Comment